A guide to Dominican linocut printing processes
Introduction
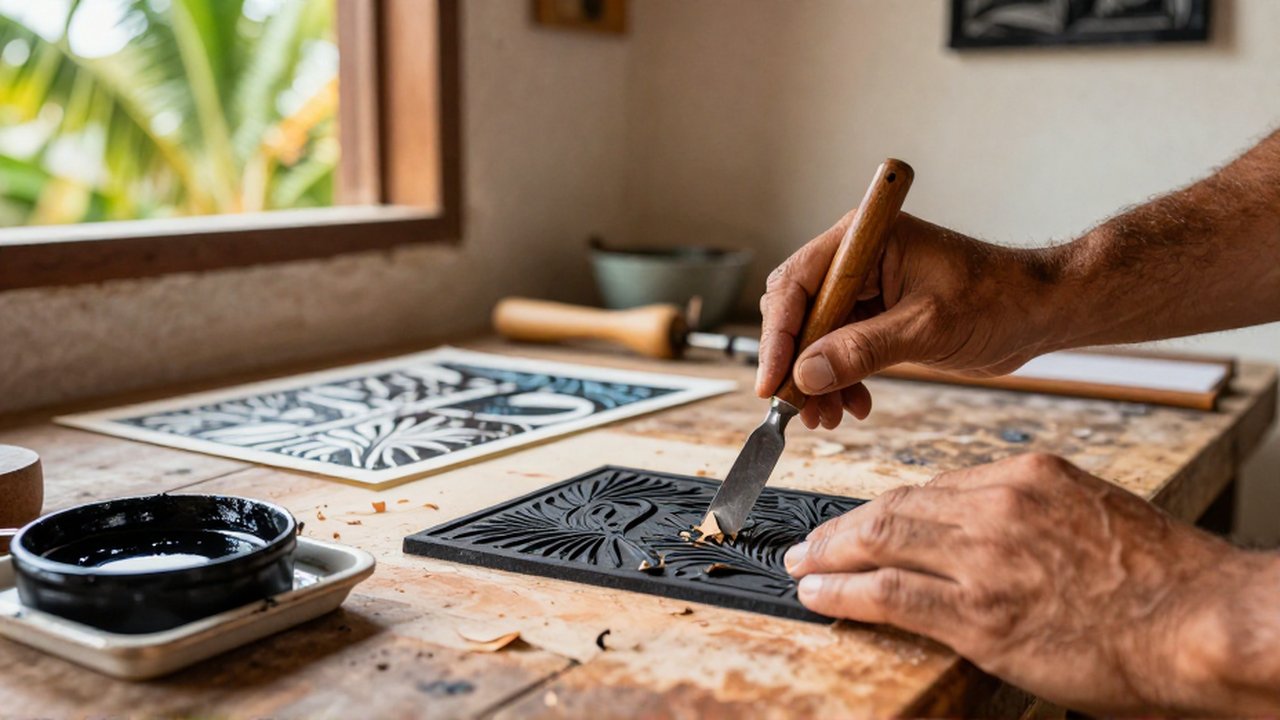
Linocut printing is a relief printing technique where artists carve a design into a sheet of linoleum, leaving the raised areas to be inked and transferred onto paper. In the Dominican Republic, this medium has become a vital tool for visual expression, allowing artists to communicate social, cultural, and historical narratives through bold, high-contrast imagery. It is a versatile process used by both fine artists and community educators to produce reproducible works of art that maintain a raw, tactile quality.
Understanding the linocut process is essential for those interested in the intersection of Caribbean craftsmanship and contemporary printmaking. Because the technique relies on physically removing material to create negative space, it demands precision and a clear vision of light and shadow. This guide explores the technical stages of linocut printing, focusing on the methodology and artistic nuances that define the practice within the Dominican creative landscape.
Essential tools and materials for linocutting
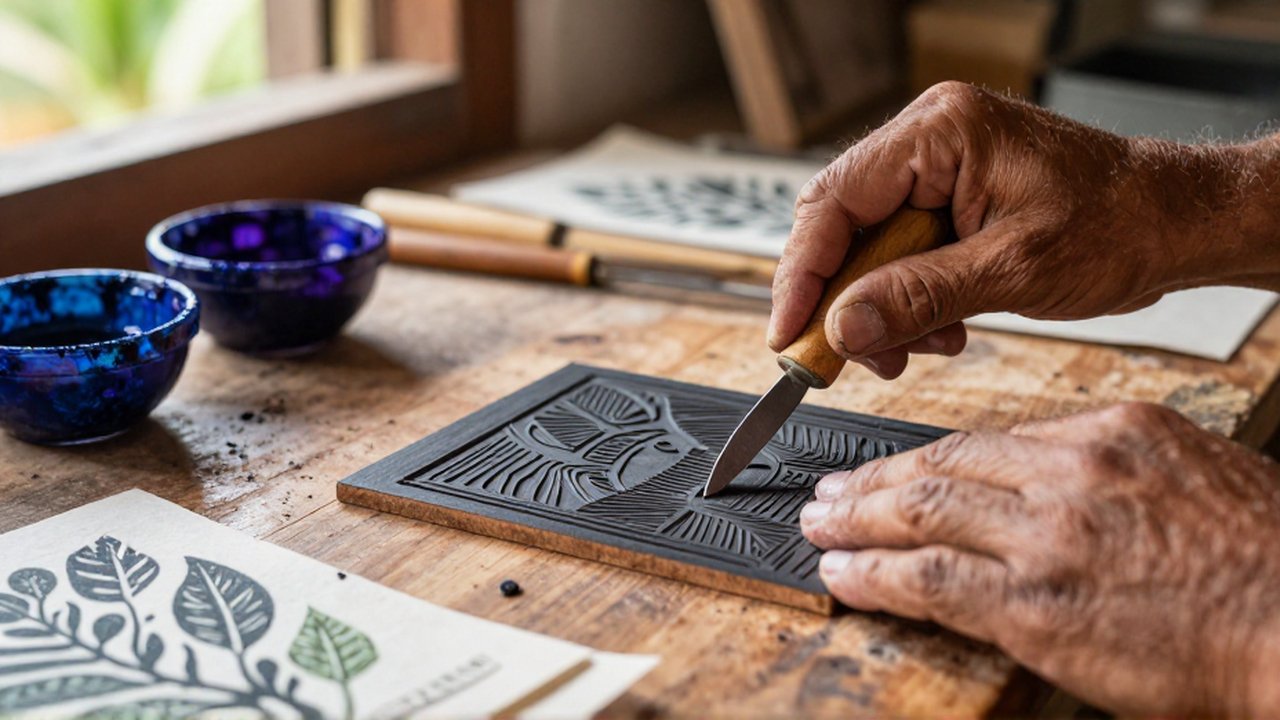
To begin the linocut process, an artist must assemble a specific set of tools designed for carving, inking, and transferring. The quality of these materials directly impacts the detail achievable in the final print. The primary component is the linoleum block, which provides a smooth, consistent surface for carving. While traditional grey battleship linoleum is preferred for its durability, softer synthetic alternatives are often used by beginners to facilitate easier cutting.
Carving tools, typically referred to as gouges, are necessary to remove the material. These come in various shapes, including V-shaped tools for fine lines and U-shaped tools for clearing larger areas of the block. For the inking stage, a specialized rubber roller, known as a brayer, is used to apply a thin, even layer of ink to the surface. The ink itself can be water-based, which is easier to clean, or oil-based, which offers richer colors and longer drying times. Finally, high-quality paper is required to absorb the ink effectively during the pressure application phase.
The step by step linocut printing process
The creation of a linocut print follows a methodical sequence that moves from conceptual design to the final physical impression. Following these stages ensures that the relief pattern remains intact and the print reflects the artist’s original intent.
Design and transfer The process begins with a drawing. Since the printing process will produce a mirror image of the carved block, any text or directional elements must be reversed on the linoleum. Artists often transfer their sketches onto the block using carbon paper or by sketching directly onto the surface with permanent markers.
Carving the block Using the gouges, the artist carves away the areas intended to remain white (the color of the paper). The areas left untouched are the “relief” surfaces that will eventually hold the ink. It is critical to maintain consistent depth; carving too shallow may result in unintentional ink coverage, while carving too deep may weaken the block.
Inking the plate Once carving is complete, a small amount of ink is placed on a flat surface and rolled with a brayer until it reaches a velvety, consistent texture. The inked brayer is then rolled over the linoleum block. The goal is to coat only the raised surfaces without allowing ink to seep into the carved grooves.
Printing the image The paper is carefully placed over the inked block. Pressure must be applied evenly across the entire surface to ensure a complete transfer. This can be achieved using a professional printing press or through manual methods, such as using a hand brayer or a heavy spoon to rub the back of the paper in circular motions.
Key techniques for artistic expression

Dominican printmakers often utilize specific stylistic approaches to enhance the emotional impact of their work. Mastering these techniques allows for greater control over the visual rhythm of the print.
Hatching and cross-hatching Because linocut is a relief method, creating gradients or shading requires manual effort. By carving series of parallel lines (hatching) or intersecting lines (cross-hatching), artists can simulate different tones and textures. This is particularly useful for depicting skin tones, fabric, or natural landscapes.
Texture and mark-making The texture of a linocut is one of its most defining features. Instead of aiming for perfect smoothness, many artists use the gouge to create intentional marks that add character. Small stippled dots or jagged, irregular lines can represent organic elements like tropical foliage or weathered surfaces, adding a sense of movement to the composition.
Common challenges and practical advice
While linocutting is an accessible medium, several technical hurdles can affect the quality of the output. Being aware of these challenges can prevent common mistakes and improve efficiency.
| Challenge | Cause | Solution |
|---|---|---|
| Clogged lines | Too much ink or ink being too thin | Use less ink and ensure a consistent roll with the brayer. |
| Broken lines | Carving too deeply or using dull tools | Maintain sharp gouges and control carving depth. |
| Uneven printing | Inconsistent pressure during transfer | Use a printing press or apply more deliberate manual pressure. |
| Blurred edges | Ink spreading into carved areas | Ensure the block is clean and the ink layer is thin. |
A significant safety risk in linocutting is the potential for injury during the carving stage. Always carve away from your body and keep your non-dominant hand behind the direction of the blade. Using a bench hook to stabilize the block can also prevent the linoleum from slipping during use.
Frequently asked questions
Can I use acrylic paint instead of printing ink? While acrylics can be used, they dry very quickly, which can make the inking process difficult. Specialized printing inks are formulated to stay “open” longer, allowing for a more even application.
How do I know if my design is reversed? Always remember that the print is a mirror image of the block. If your design includes words or asymmetrical figures, you must flip the image before transferring it to the linoleum.
Is it possible to print multiple colors with one block? Yes, this is known as multi-block printing or reduction printing. In reduction printing, you carve and print one color, then carve more away from the same block and print a second color over the first.
What is the best paper for linocut prints? Papers with a smooth to medium texture work best. Extremely thick or highly textured papers may not pick up the ink evenly when using manual pressure techniques.

Post Comment