Steps to glaze pottery in Dominican traditions
Introduction
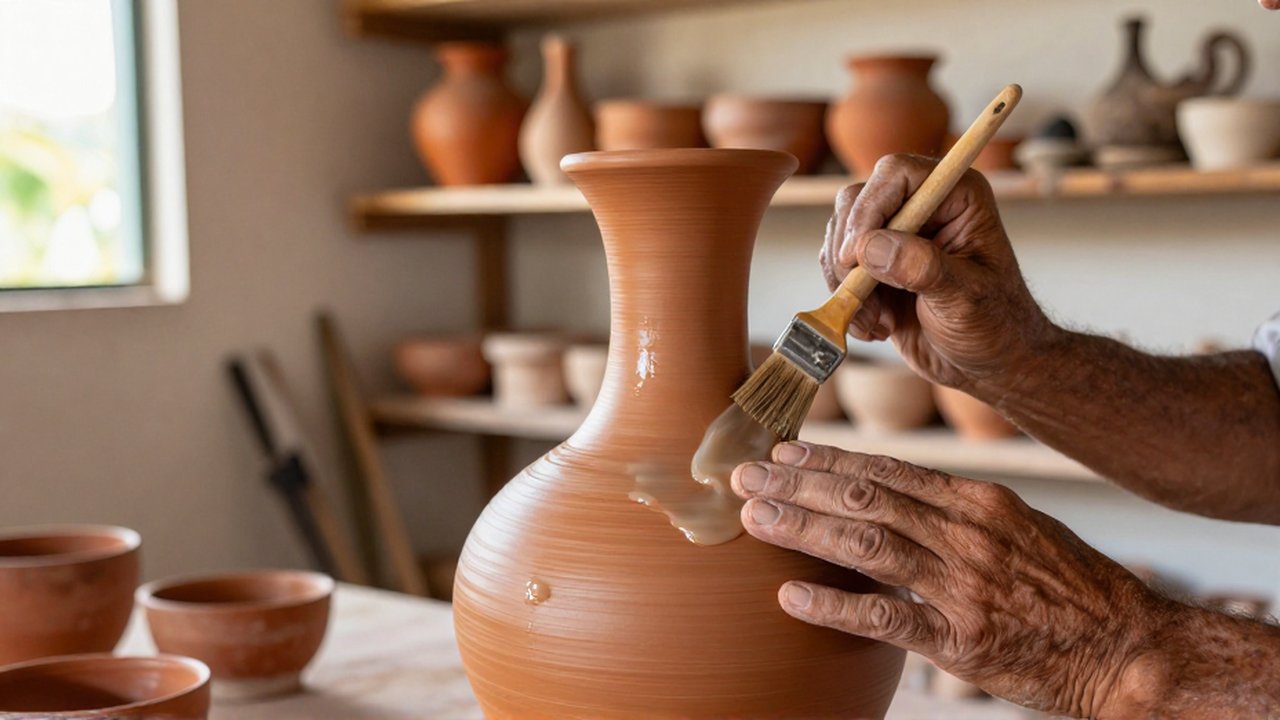
Glazing pottery in Dominican traditions is a vital process that bridges the gap between functional earthenware and expressive cultural art. In the Dominican Republic, pottery has historically been used for domestic purposes, such as storing water or cooking, but the application of finishes has long been a method to provide durability and aesthetic character. Understanding the glazing process is essential for artisans who wish to protect their work from moisture and create the vibrant, earthy textures that define the Caribbean ceramic identity.
This process matters because it transforms raw, porous clay into a finished piece capable of enduring daily use. Whether an artist is working with traditional slips or more modern vitreous glazes, the technique requires a deep understanding of heat, material chemistry, and surface preparation. Mastering these steps allows creators to honor ancestral methods while applying contemporary decorative sensibilities to their handmade pieces.
Importance of surface preparation before glazing
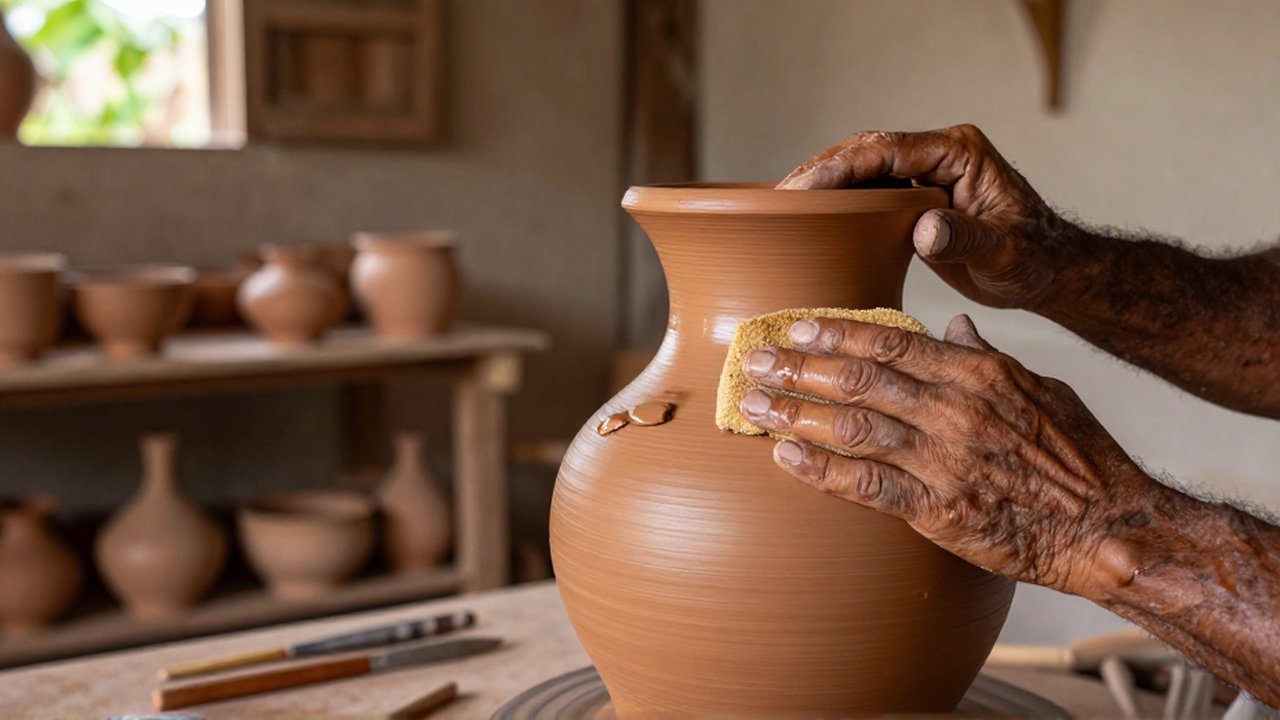
Before any color or shine can be applied, the ceramic surface must be perfectly prepared. In Dominican pottery traditions, which often blend indigenous influences with colonial techniques, the texture of the clay dictates how the finish will adhere. If the surface is uneven or dusty, the glaze will pool in some areas and skip others, leading to an unprofessional and inconsistent finish.
The first step involves ensuring the piece is “bisque fired.” This initial firing hards the clay and makes it porous enough to absorb the liquid glaze. Once the bisque firing is complete, the artisan must clean the piece thoroughly. Using a damp, lint-free sponge is the standard method to remove any microscopic particles of dust that may have settled on the surface.
One must also check for structural integrity. Small cracks or “flea bites” in the clay can expand during the glazing process if not addressed. While some artisans choose to leave these marks as evidence of handmade authenticity, others may use a thin slip to smooth the surface before applying the final decorative layer.
Traditional methods of applying color and finish
Dominican ceramic art often draws inspiration from the natural environment, utilizing colors that reflect the island’s landscape. There are two primary ways to achieve a finish: through the use of traditional slips or through modern liquid glazes.
Traditional Slips and Engobes In many traditional contexts, potters use “slips,” which are thin mixtures of clay and water tinted with natural pigments like iron oxide or manganese. These are applied to the leather-hard clay or the bisque-fired surface. Slips are particularly effective for creating matte, earthy finishes that feel organic to the touch. They are often used to create decorative patterns or to change the base color of the vessel without adding a thick, glassy layer.
Liquid Glazes and Vitrification For pieces intended to hold liquids or to achieve a high-gloss shine, liquid glazes are used. These are complex mixtures of minerals and silica that melt during the final firing to form a glass-like coating. The application can be done through several techniques:
- Dipping: Submerging the entire piece into a bucket of glaze for a uniform coat.
- Brushing: Using specialized soft brushes to apply layers, which allows for more intricate, localized designs.
- Pouring: Allowing glaze to flow over the rim of a vessel, creating interesting “drip” effects that are common in contemporary Caribbean art.
Step by step glazing procedure
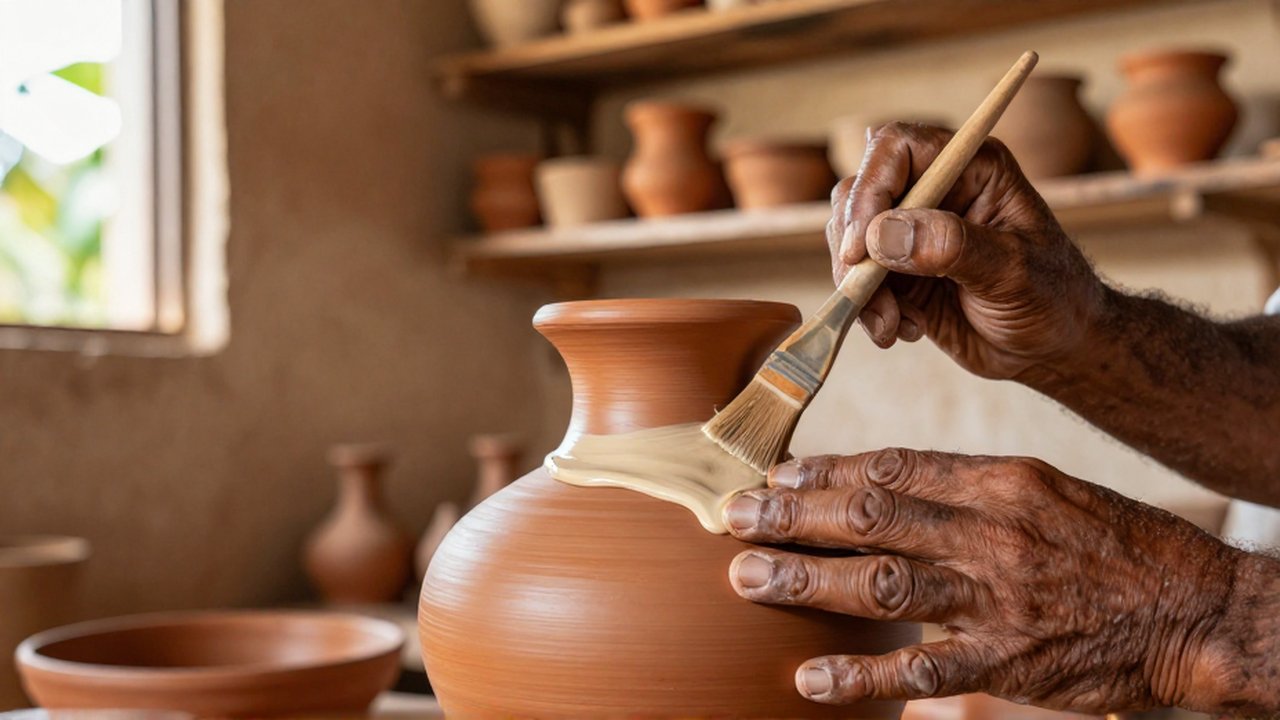
To achieve a successful result, an artisan should follow a disciplined sequence. Deviating from this order often results in peeling, crazing (fine cracks in the glaze), or uneven coloration.
- Cleaning the bisque: Wipe the piece with a clean, damp sponge to remove dust. Allow it to dry completely before proceeding.
- Mixing the glaze: Ensure the glaze is well-stirred. Glaze components tend to settle at the bottom of the container, and an uneven mixture will cause streaks in the final product.
- Applying the coating: Depending on the chosen method (dipping, brushing, or pouring), apply the material. If brushing, it is often necessary to apply multiple thin layers rather than one thick layer to avoid “crawling,” where the glaze pulls away from the clay.
- Drying time: Allow the glaze to dry until it is no longer tacky to the touch. This prevents the piece from sticking to the kiln shelves.
- Kiln loading: Place the pieces in the kiln, ensuring they are not touching. If a piece has a glazed bottom, it must be placed on “kiln furniture” or a sacrificial layer of material to prevent it from fusing to the shelf.
- Firing: Subject the piece to a controlled heating cycle. The temperature must reach the specific “maturation point” of the glaze used.
Common mistakes and technical limitations
Even experienced potters encounter challenges during the glazing phase. Recognizing these common errors can prevent the loss of time and materials.
Glaze Crawling and Peeling This occurs when the glaze fails to adhere to the clay, leaving bare patches. This is often caused by dust on the bisque surface or by applying the glaze too thickly. If the glaze layer is too heavy, it may crack and bead up during firing, much like water on a greasy surface.
Crazing and Shivering Crazing refers to a network of fine cracks in the glaze surface. This happens when the glaze and the clay body shrink at different rates during cooling. Shivering is the opposite, where the glaze actually peels off the edges of the piece because the glaze is too large for the clay body. Both issues are related to the chemical compatibility between the clay and the glaze.
Pinholing Pinholes are tiny bubbles or holes in the finished surface. These usually result from gases escaping the clay during the firing process. If the firing temperature is raised too quickly, these gases cannot escape smoothly, leaving behind small craters in the glaze.
Frequently asked questions
Can I use traditional slips and modern glazes on the same piece? Yes, it is common to use a slip to create a base color or pattern and then apply a clear glaze over the top to provide shine and protection.
How do I know if my glaze is applied too thickly? If the glaze appears to be pulling away from certain spots or if you see cracks while the glaze is still drying, it is likely too thick. It is always better to apply multiple thin, even coats.
Why does my glaze look different after firing than it did in the jar? Glazes undergo a chemical transformation in the heat of the kiln. The color you see in the jar is often a dull version of the final result; the actual pigments only reveal their true vibrance once they have melted and vitrified.
Does all Dominican pottery require glazing? Not necessarily. Many traditional pieces are left unglazed to maintain a rustic, porous texture that is ideal for specific types of traditional cooking or water storage.



Post Comment