How to master charcoal drawing techniques for beginners

Introduction
Charcoal drawing is one of the most expressive and ancient forms of visual art, offering a unique ability to create intense blacks and soft, subtle gradients. This medium is essential for artists looking to master light, shadow, and texture, as it allows for rapid manipulation of tone. Whether you are interested in realistic portraiture or dramatic landscapes, charcoal provides a tactile experience that traditional graphite pencils cannot match.
Learning these techniques is appropriate for any beginner who wishes to develop a sense of depth and volume in their work. Because charcoal is easily manipulated with the fingers or tools, it encourages an intuitive approach to art, helping students understand how light interacts with form. Mastering this medium serves as a foundation for more advanced shading and composition skills in various artistic disciplines.
Essential charcoal tools for beginners
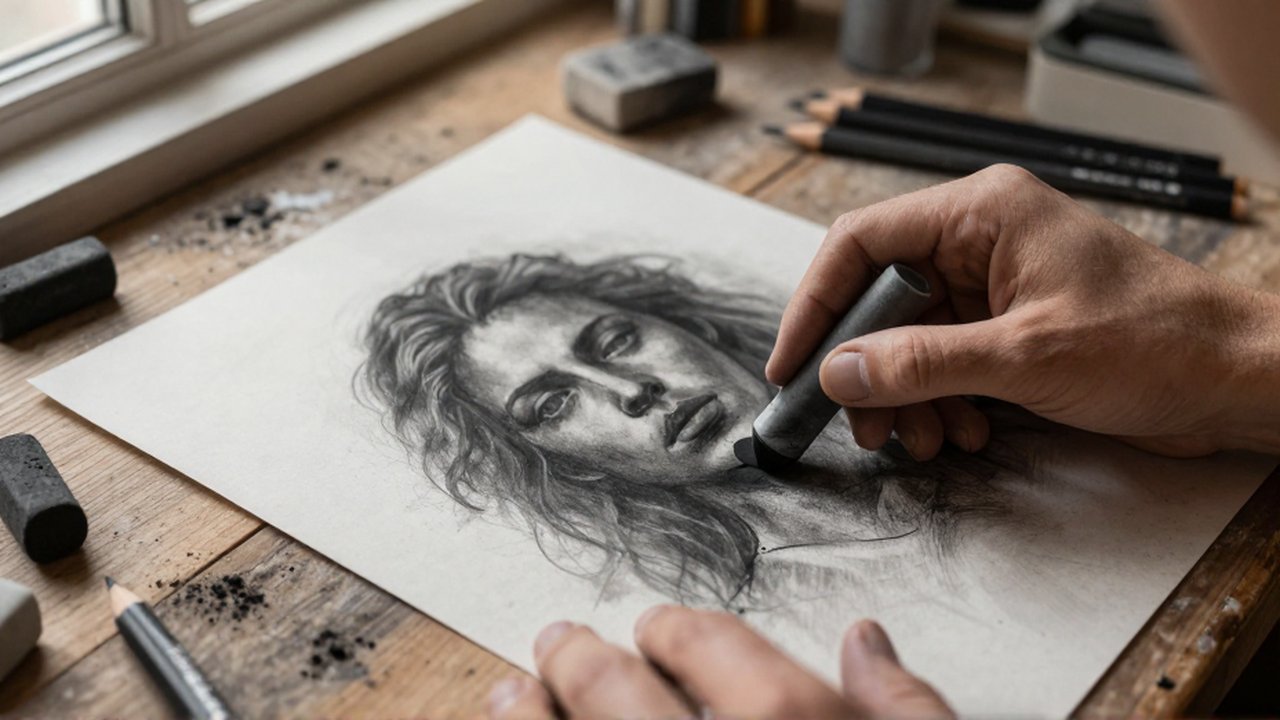
To begin your journey, you must understand the different types of charcoal available, as each serves a specific purpose. Using the wrong tool for a specific task can lead to frustration and a lack of control over your composition.
The most common types of charcoal include:
- Vine and Willow Charcoal: These are made from burnt sticks of organic material. They are very soft, light, and easy to erase, making them perfect for initial sketches and light outlines.
- Compressed Charcoal: This is charcoal powder mixed with a binder. It produces much darker, more intense blacks and is harder to erase. It is ideal for adding deep shadows and final details.
- Charcoal Pencils: These provide more control than sticks. They are excellent for fine lines, sharp details, and working in smaller spaces without making a mess.
In addition to the charcoal itself, you will need high-quality paper with a significant “tooth” or texture. Smooth paper will not hold the charcoal particles, causing your drawing to smudge or disappear. Essential blending tools include tortillons (paper stumps), soft brushes, and various types of erasers, such as the kneaded eraser, which can be shaped to lift highlights.
Basic drawing techniques and methods
Mastering charcoal requires moving beyond simple lines and focusing on the manipulation of mass and value. Unlike graphite, which is used for precision, charcoal is often used for “blocking in” large areas of tone.
To build a successful drawing, start with a light application of vine charcoal to establish your basic shapes and proportions. Avoid pressing hard during this stage, as you will need to erase mistakes easily. Once the composition is set, you can begin the process of layering. This involves applying darker values over lighter ones to create depth.
A key technique is blending. You can use your fingers to smudge the charcoal, but using a tortillon or a soft brush provides more controlled gradients. For creating highlights, do not simply try to draw “white” lines; instead, use a kneaded eraser to “draw” by lifting the charcoal away from the paper. This technique allows you to pull light out of the darkness, creating a three-dimensional effect.
Common mistakes to avoid when practicing
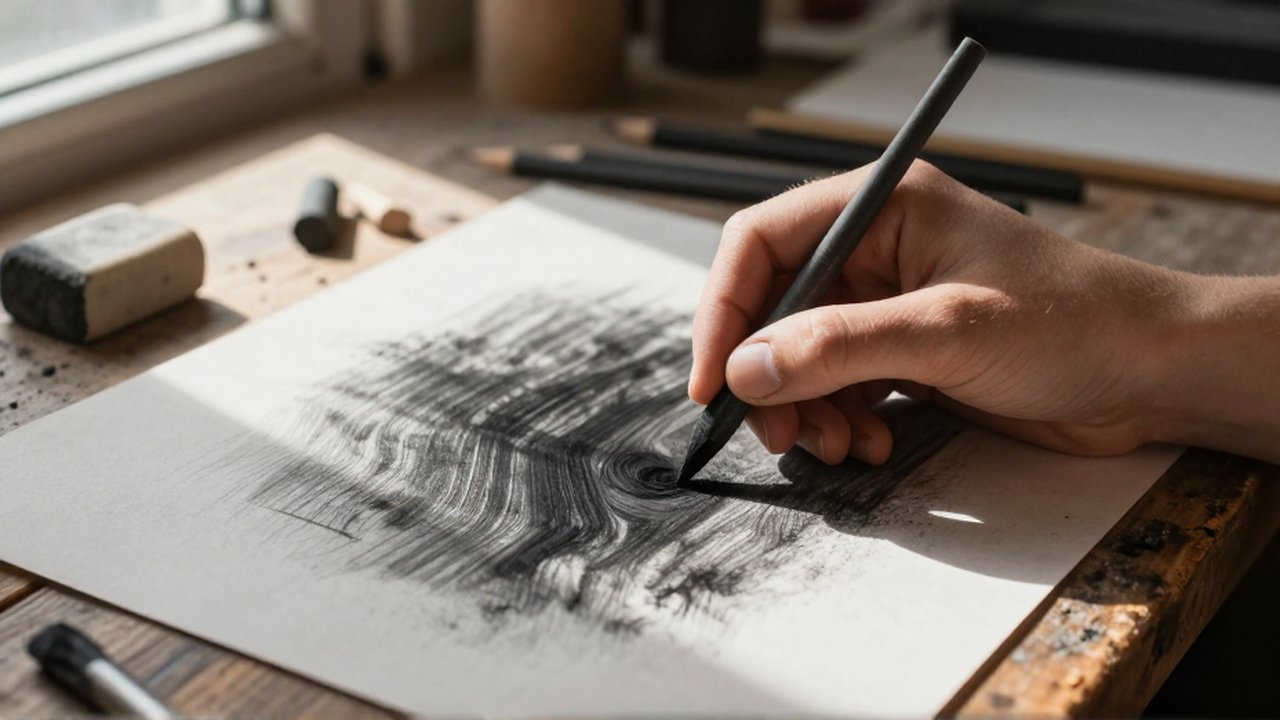
Beginners often encounter several hurdles that can hinder their progress. Recognizing these errors early will help you refine your technique and improve your results.
One frequent mistake is overworking the drawing. Because charcoal is so easy to blend, it is tempting to smudge everything constantly. Doing this can result in a “muddy” appearance where all the details and tonal distinctions are lost in a gray haze. It is important to know when to stop blending and when to let a sharp edge remain.
Another error is pressing too hard too early. If you apply heavy compressed charcoal during the initial sketching phase, you will find it nearly impossible to correct your proportions without damaging the paper. Finally, many beginners forget about cleanliness and protection. Charcoal is incredibly messy; failing to use a fixative spray once the drawing is complete can result in the artwork smudging or fading over time.
Tips for improving charcoal skills
| Goal | Recommended Action |
|---|---|
| Deep Shadows | Use compressed charcoal sticks for maximum darkness. |
| Smooth Gradients | Use a soft brush or a blending stump for even transitions. |
| Fine Details | Switch from sticks to charcoal pencils for precision. |
| Bright Highlights | Use a kneaded eraser to lift pigment from the highest points. |
To improve, practice observing the “values” in your subjects rather than the lines. Instead of drawing an eye, try drawing the shadow beneath the eyelid and the highlight on the iris. Consistent practice with value scales—creating a strip from the lightest gray to the darkest black—will train your eyes to recognize the nuances required for professional-level work.
Frequently asked questions
How do I stop charcoal from smudging? Once you have finished your drawing, you should apply a professional fixative spray in light, even layers. This “locks” the charcoal particles to the paper fibers.
Can I use regular paper for charcoal? While you can, it is not recommended. Charcoal requires textured paper (often called “tooth”) to grab the pigment. Smooth printer paper will cause the charcoal to slide around without adhering properly.
What is the difference between vine and compressed charcoal? Vine charcoal is very light, easy to erase, and great for sketching. Compressed charcoal is much darker, holds more pigment, and is used for the final, heavy shading of a piece.
Is a kneaded eraser better than a standard eraser? For charcoal, a kneaded eraser is superior because it does not leave crumbs and can be molded into tiny points to lift pigment from very specific, small areas.



Post Comment