Common mistakes to avoid in graphite drawing
Introduction
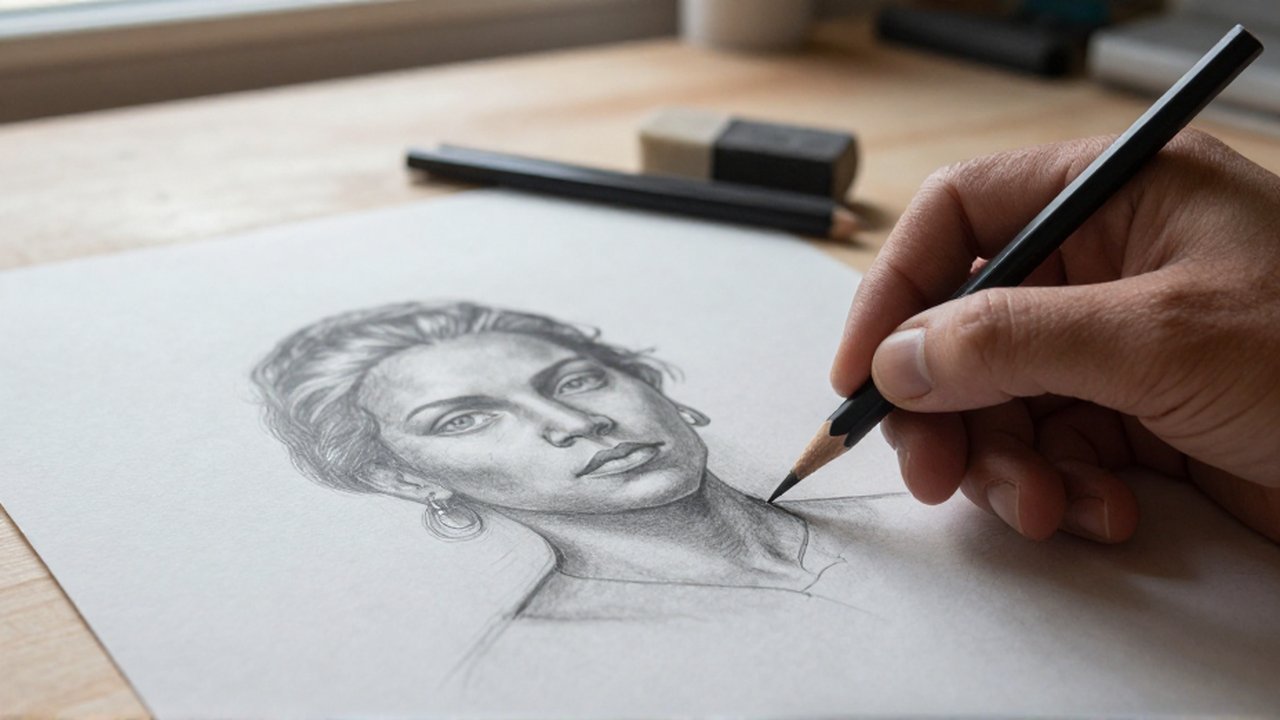
Graphite drawing is a fundamental pillar of the visual arts, offering a versatile medium for everything from quick anatomical sketches to highly detailed hyper-realistic portraits. Mastering this tool requires more than just the ability to move a pencil across paper; it demands an understanding of value, pressure, texture, and light. When applied correctly, graphite can mimic almost any surface, capturing the softness of skin or the cold hardness of metal through subtle shifts in tone.
Learning to identify and correct common errors is essential for any artist looking to advance their technical skills. Many beginners struggle with issues such as smudging, flat values, or improper pencil control, which can hinder the realism and impact of their work. By recognizing these pitfalls early, artists can transition from mere sketching to creating profound, three-dimensional compositions that command attention.
Improper pressure and value range
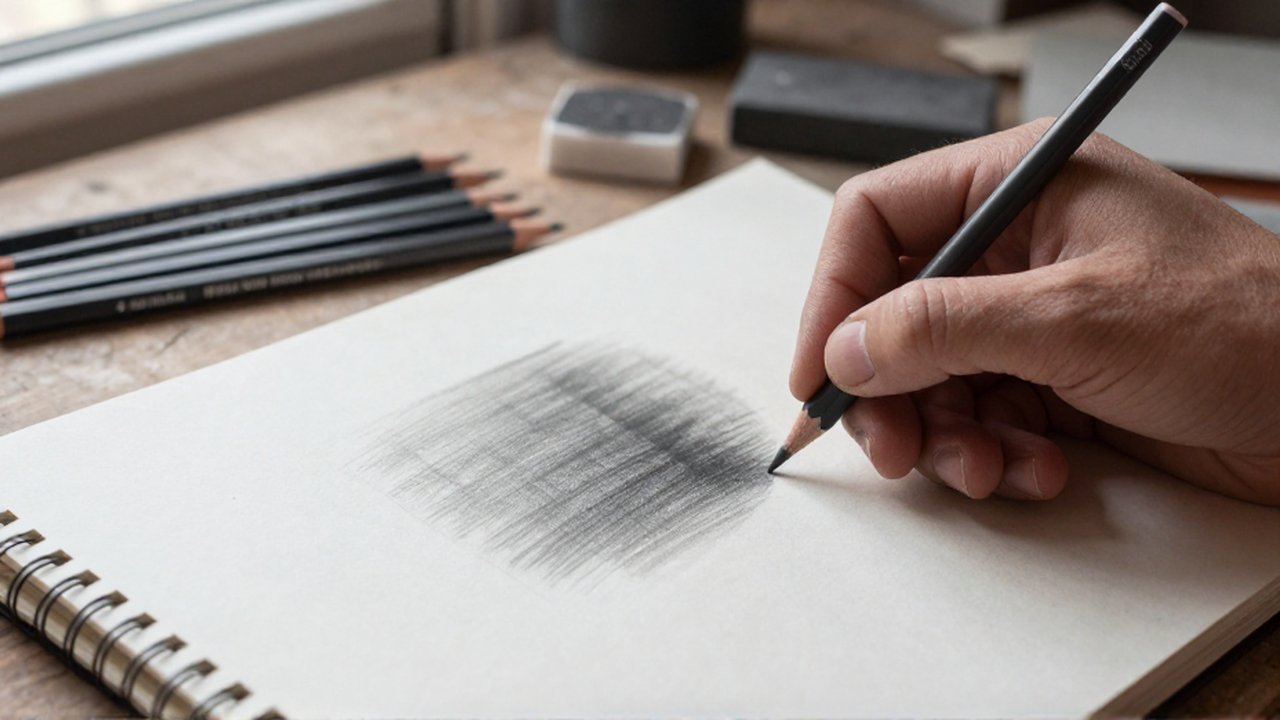
One of the most frequent errors in graphite drawing is the failure to utilize the full range of values available within the medium. Many artists fall into the trap of using only a single grade of pencil or applying the same medium pressure throughout the entire piece. This results in a “middle-gray” drawing that lacks contrast and appears flat.
A successful graphite drawing requires a clear distinction between the darkest shadows, the mid-tones, and the brightest highlights. To avoid this, artists should consciously incorporate different pencil grades, such as harder pencils (H series) for light initial sketches and softer pencils (B series) for deep, rich shadows. Relying solely on heavy pressure with a hard pencil to create dark areas often leads to a “shiny” or “burnished” look on the paper, where the graphite becomes compressed and loses its ability to hold further layers.
Smudging and handling of the drawing surface
Graphite is a loose medium that stays on the surface of the paper fibers. A common mistake among beginners is resting their hand directly on the drawing area while working. This inadvertent contact transfers oils from the skin and physical graphite residue onto the paper, creating unintended smudges that are difficult to erase without damaging the tooth of the paper.
To maintain a clean workspace, consider the following practices:
- Use a bridge or mahl stick: These tools allow you to hover your hand above the paper.
- Work from top to bottom: If you are right-handed, work from the top left to the bottom right to prevent your hand from crossing over finished sections.
- Use protective sheets: Place a piece of clean paper under your hand to act as a barrier between your skin and the artwork.
- Embrace fixatives: Once a section is complete, using a workable fixative can help “lock” the graphite in place, though this should be done carefully to avoid changing the tone too drastically.
Overreliance on blending tools
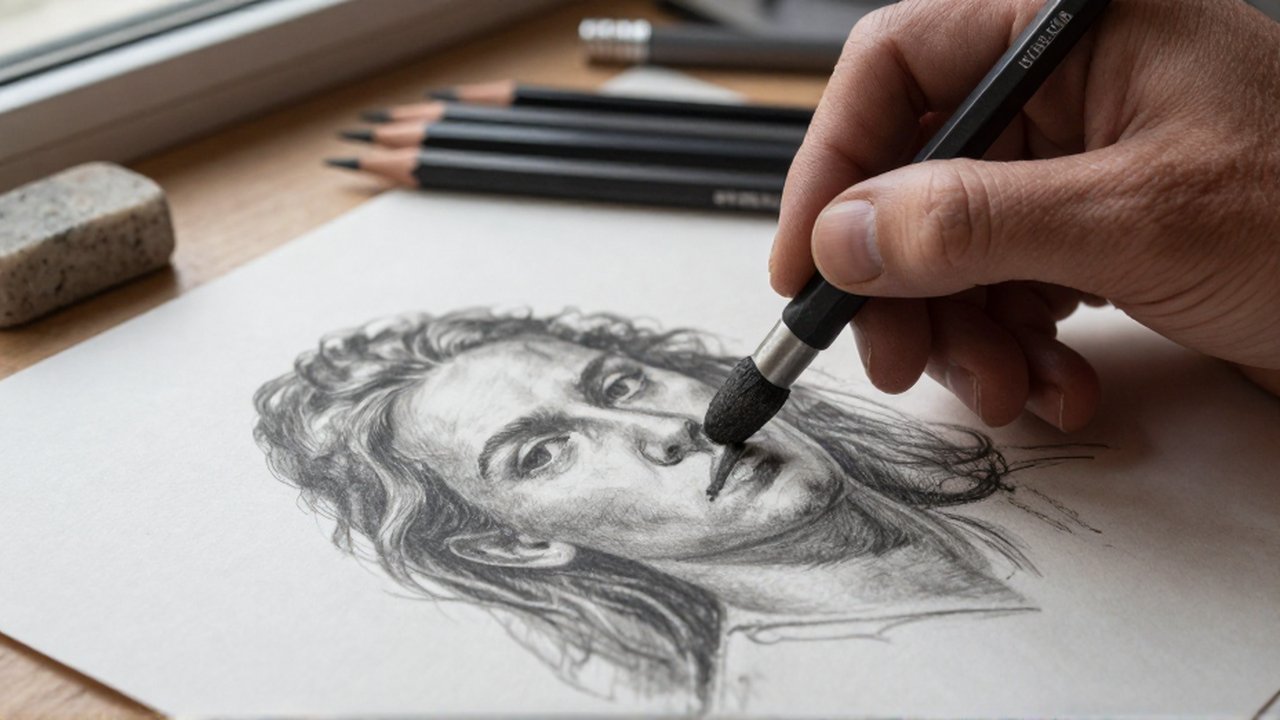
While blending is a core part of many graphite techniques, an overreliance on blending stumps, tortillions, or even fingers can ruin a drawing. Many students believe that smooth transitions are achieved solely through blending, but excessive blending often results in a loss of detail and texture. It can turn a sharp, crisp drawing into a muddy, indistinct mess.
The key is to understand that blending should be used to create soft gradients, not to replace the structural work of the pencil. A well-executed drawing uses a combination of hatching, cross-hatching, and stippling to build texture, with blending applied sparingly to unify tones. If a drawing looks too “blurry,” it is likely because the artist has blended away the essential edges and micro-textures that define the subject.
Ignoring the importance of edges and highlights
In the pursuit of shading, many artists forget that light is just as important as shadow. A mistake often seen in amateur work is the failure to leave “breathing room” for highlights. If every part of the drawing is covered in graphite, there is no way to represent the points where light hits the object most directly.
Furthermore, failing to manage edges can make a drawing look disconnected. An edge can be hard (a sharp transition between light and dark), soft (a gradual transition), or lost (where the shadow of an object merges with its background). To improve, artists should practice observing how light interacts with edges to create depth and volume, rather than simply outlining every shape with a dark line.
Frequently asked questions
Why does my graphite drawing look shiny in some areas? This usually happens when you apply too much pressure or use soft pencils to layer too many strokes in one spot. This “burnishes” the paper, filling in the texture (tooth) and creating a reflective surface that prevents more graphite from being added.
Can I use a kneaded eraser to fix mistakes? Yes, a kneaded eraser is an excellent tool for graphite drawing. It can be molded into various shapes to lift graphite gently without damaging the paper fibers, making it ideal for lifting highlights or cleaning up small areas.
How do I choose the right pencil grade for a drawing? Use harder pencils (like 2H or HB) for light outlines and initial layers, as they are easier to erase and don’t smudge easily. Use softer pencils (like 2B, 4B, or 6B) for deep shadows and high-contrast areas.
Is it better to blend with a finger or a tool? It is generally better to use a dedicated tool like a blending stump or a brush. Using your finger introduces skin oils into the paper, which can cause permanent staining and prevent the graphite from adhering properly to the surface.



Post Comment